39 create and print labels using mail merge
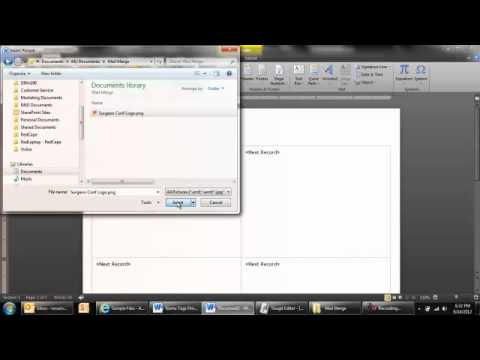
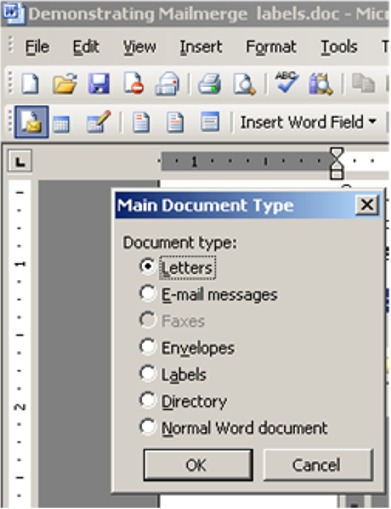
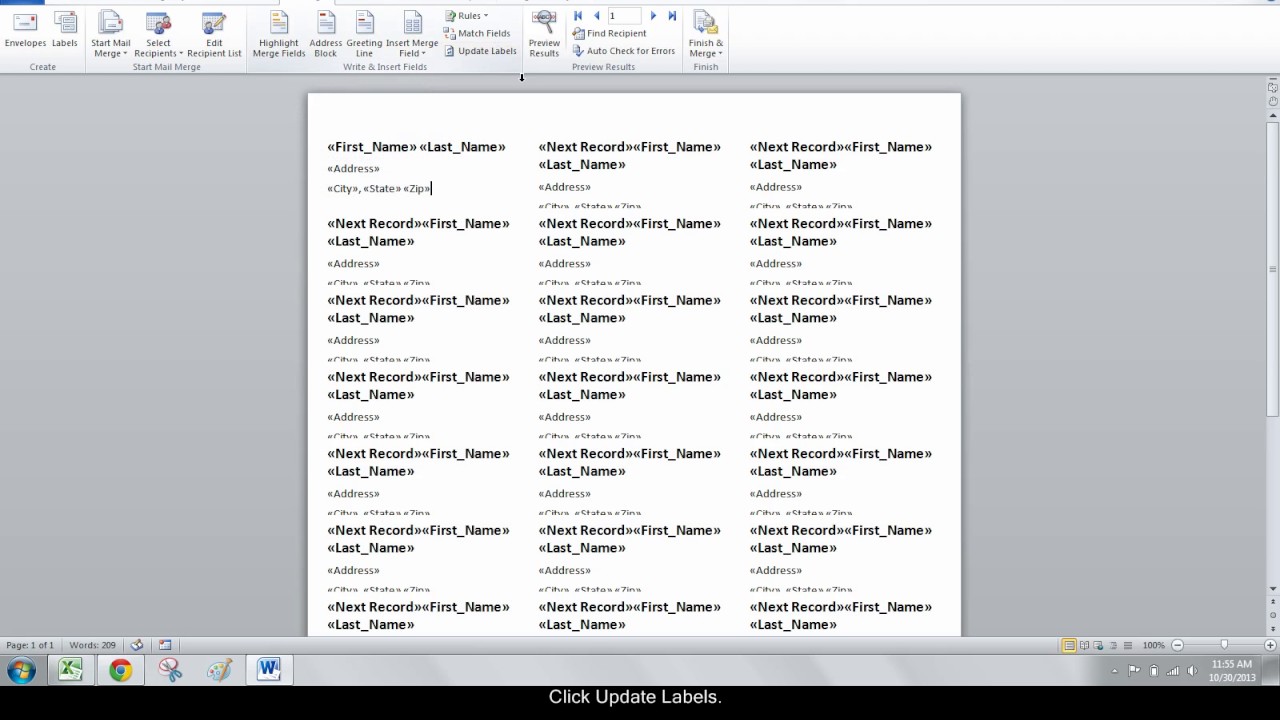
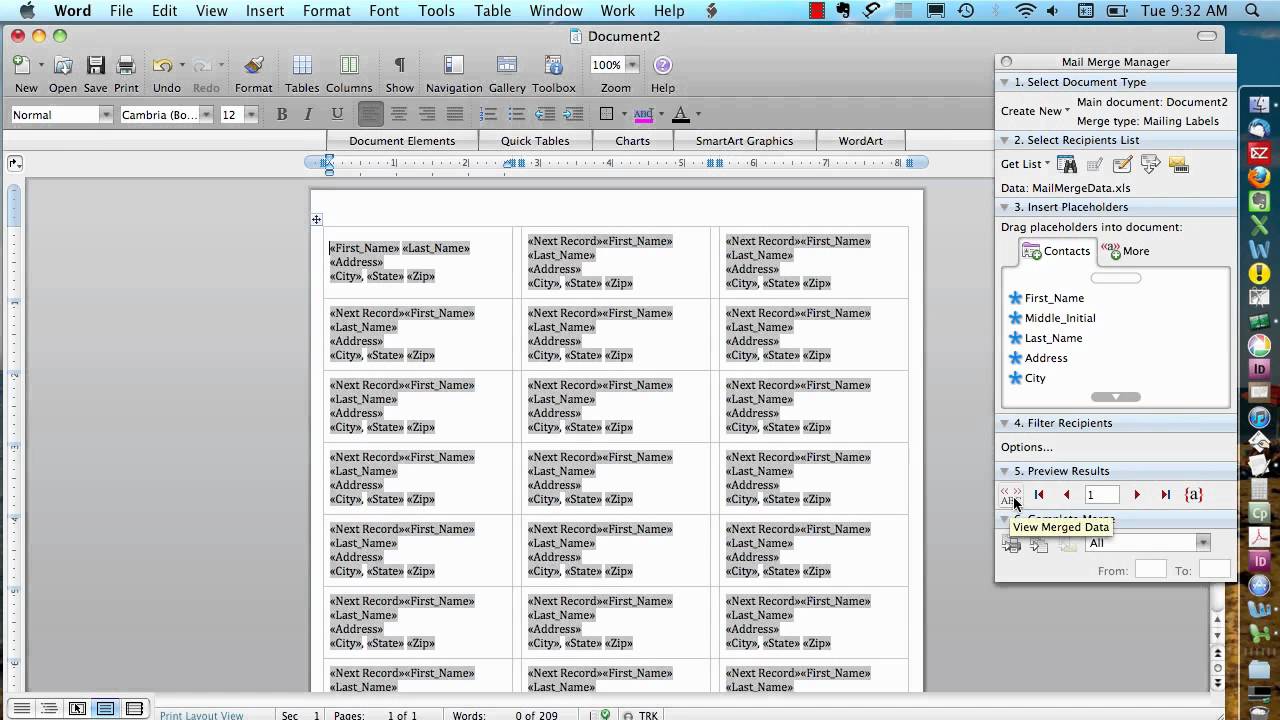
Video: Use mail merge to create multiple labels Click the MAILINGS tab, and click Start Mail Merge, and Labels. You start by selecting your label options. We'll just use the same labels from the first movie, and click OK. Word adds blank labels to a new document. To see the labels, click the TABLE TOOLS LAYOUT tab, and click View Gridlines. Video: Use mail merge to create multiple labels Video: Use mail merge to create multiple labels Word 2013 training Create and print labels Use mail merge Overview Transcript If you wanted to create and print a bunch of recipient address labels, you could type them all manually in an empty label document. But there's a much better way, and it's called Mail Merge. Watch this video to learn more.
Avery Label Merge - Google Workspace Marketplace Mail Merge envelopes, labels, QR Codes and Barcodes from Google Docs and Google Sheets. The best way to create and print labels using accurate compatible templates from Avery. By: Quicklutionopen_in_new. Listing updated: May 9, 2022. Uninstall. Install. Works with: 6,184. info. 4,936,681.

Create and print labels using mail merge
Create and print labels from Google Docs & Sheets - Labelmaker Labelmaker is the best way to mail merge labels within Google Suite. Create and print labels from a wide choice of label templates including Avery labels for Google Docs or Google Sheets. Install Labelmaker. Rated 4.9/5 from 4 million users. How to Mail Merge and Print Labels in Microsoft Word - Computer Hope Step one and two In Microsoft Word, on the Office Ribbon, click Mailings, Start Mail Merge, and then labels. In the Label Options window, select the type of paper you want to use. If you plan on printing one page of labels at a time, keep the tray on Manual Feed; otherwise, select Default. How To Create And Print Labels Using Mail Merge? Select the "Mailings" tab and click on the Mailings > Labels option. From the Mailings > Labels dialog box, click on the "Address" tab. In the Mailings > Labels window, click on "Address Range". Select the records to merge and click OK. You can also choose the printer from the list of printer options. When you're finished, save the merged file.
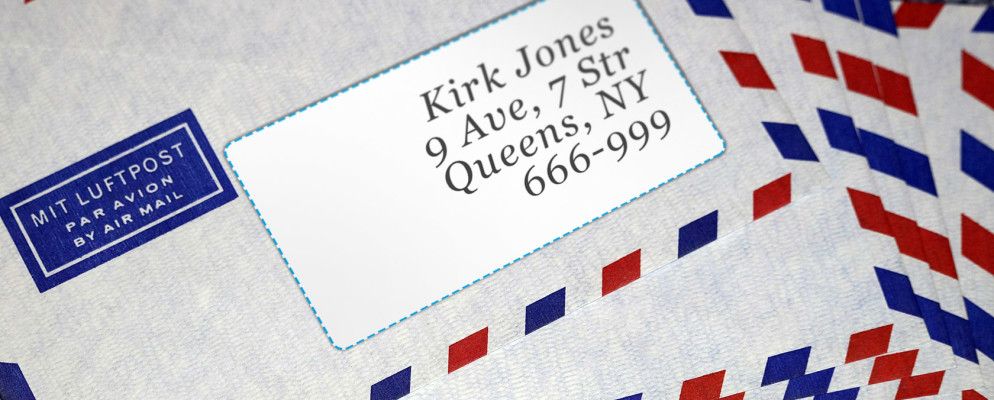
Create and print labels using mail merge. How to mail merge and print labels from Excel - Ablebits.com Print address labels You are now ready to print mailing labels from your Excel spreadsheet. Simply click Print… on the pane (or Finish & Merge > Print documents on the Mailings tab). And then, indicate whether to print all of your mailing labels, the current record or specified ones. Step 8. Save labels for later use (optional) Create and print mailing labels for an address list in Excel To create and print the mailing labels, you must first prepare the worksheet data in Excel, and then use Word to configure, organize, review, and print the mailing labels. Here are some tips to prepare your data for a mail merge. Make sure: Column names in your spreadsheet match the field names you want to insert in your labels. How To Create And Print Labels In Word Using Mail Merge And Excel ... step 1: start the merge and specify the main document as tags. The first step is to start the merge using Start Mail Merge in the Posts tab on the Ribbon: See Also: 20p x 25 self adh stamps. to start the merge and specify the main document for the tags: create a new blank word document. click the mail tab on the ribbon and then click start mail ... Use mail merge for bulk email, letters, labels, and envelopes Create and print a batch of personalized letters. Email where each recipient's address is the only address on the To line. You'll be sending the email directly from Word. Create and send email messages. Envelopes or Labels where names and addresses come from your data source. Create and print a batch of envelopes for mailing.
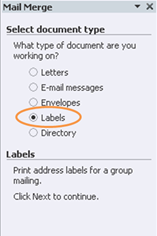
Print Mailing Labels Using Mail Merge - Remine Support Center On the Mailings tab, click Start Mail Merge. This is where you can select your document type, whether it be a full envelope, a sheet of labels, or something else. Refine the list of recipients. On the Mailings tab, click Select Recipients, then click Use an Existing List. Select your Excel worksheet that you prepared in step 1. PowerSchool Admin :: Create and Print Labels - KIPP Team and Family ... Choose Finish & Merge > Print Documents. Step 6: Save your labels document. When you save the mail merge document, it stays connected to your spreadsheet so that you can use it again. Next time you open the mail merge document, choose Yes when Word prompts you to keep the connection. Video: Create labels with a mail merge in Word Once your mailing addresses are set up in an Excel spreadsheet (see the previous video to learn how), it's a snap to get Word to create mailing labels from them. Create your address labels. In Word, click Mailings > Start Mail Merge > Step-by-Step Mail Merge Wizard to start the mail merge wizard. Print labels for your mailing list - support.microsoft.com We will use a wizard menu to print your labels. Go to Mailings > Start Mail Merge > Step-by-Step Mail Merge Wizard. In the Mail Merge menu, select Labels. Select Starting document > Label Options to choose your label size. Choose your Label vendors and Product number. You'll find the product number on your package of labels. Select OK .
How to Create and Print Labels in Word Using Mail Merge and Excel ... To start the merge and specify the main document for labels: Create a new blank Word document. Click the Mailings tab in the Ribbon and then click Start Mail Merge in the Start Mail Merge group. From the drop-down menu, select Labels. A dialog box appears. Select the product type and then the label code (which is printed on the label packaging). Video: Create labels with a mail merge in Word Once your mailing addresses are set up in an Excel spreadsheet (see the previous video to learn how), it's a snap to get Word to create mailing labels from them. Create your address labels In Word, click Mailings > Start Mail Merge > Step-by-Step Mail Merge Wizard to start the mail merge wizard. How to Make and Print Labels from Excel with Mail Merge - WinBuzzer Open the "Mailings" tab of the Word ribbon and select "Start Mail Merge > Labels…". The mail merge feature will allow you to easily create labels and import data to them from a spreadsheet... Create Your Own Labels Using Mail Merge If you want to print a label for your open Items, insert row (s) to include the open Item (s) and then type in the Item number in the column entitled Item. Save the Excel worksheet. Step 2: Set Up the Label Main Document. Open Word and set up the label main document. The label main document is the page of labels that you start with.
How to create name badges using mail merge in Word 2010 | RedCape's Blog
Print Labels using mail merge Office 2010 & 2013 When you run a mail merge, Word pulls names, addresses, and other information directly from your Excel spreadsheet into the email messages, labels, envelopes, or documents you're creating. The merge runs more smoothly if all the information you want to include is ready—so, the first step is to make sure:

How to Create Labels in Word Using Mail Merge and Excel Source Data
Use mail merge for bulk email, letters, labels, and envelopes Create and print sheets of mailing labels Directory that lists a batch of information for each item in your data source. Use it to print out your contact list, or to list groups of information, like all of the students in each class. This type of document is also called a catalog merge. Create a directory of names, addresses, and other information
34 Mail Merge Label Printing - Label Ideas 2020
How to Mail Merge Labels from Excel to Word (With Easy Steps) - ExcelDemy STEP 2: Insert Mail Merge Document in Word. Now, we have to set up the Word for merging the Excel file to insert the Mail Merge Document. So, learn the process below. Firstly, open a Word window. Now, go to the Mailings tab. Next, select Step-by-Step Mail Merge Wizard from the Start Mail Merge drop-down.
Making Address Labels with Mail Merge - YouTube
How To Create And Print Labels Using Mail Merge? Select the "Mailings" tab and click on the Mailings > Labels option. From the Mailings > Labels dialog box, click on the "Address" tab. In the Mailings > Labels window, click on "Address Range". Select the records to merge and click OK. You can also choose the printer from the list of printer options. When you're finished, save the merged file.

Creating And Editing Label Layouts
How to Mail Merge and Print Labels in Microsoft Word - Computer Hope Step one and two In Microsoft Word, on the Office Ribbon, click Mailings, Start Mail Merge, and then labels. In the Label Options window, select the type of paper you want to use. If you plan on printing one page of labels at a time, keep the tray on Manual Feed; otherwise, select Default.
How to Print Labels with Mail Merge in Microsoft Word and Excel
Create and print labels from Google Docs & Sheets - Labelmaker Labelmaker is the best way to mail merge labels within Google Suite. Create and print labels from a wide choice of label templates including Avery labels for Google Docs or Google Sheets. Install Labelmaker. Rated 4.9/5 from 4 million users.

mail merge labels fig 1 tuxlabel - Top Label Maker

How to print address labels from Excel

Step by Step Guide on Using Mail Merge Wizard in Word 2007 | HubPages
Mail Merge for Mac - Labels - YouTube

Use Mail Merge-Create-Send Envelopes in Microsoft Word 2016 - wikigain

Web Based Member Database and Website Building Software

34 Mail Merge Only Printing One Label Per Page - Labels For You

Template Tuesday: Labels & Mail Merges 101
Creating New Mail Merge Templates for Printing Labels - Frequently Asked Questions

How to print address labels from Excel
Post a Comment for "39 create and print labels using mail merge"